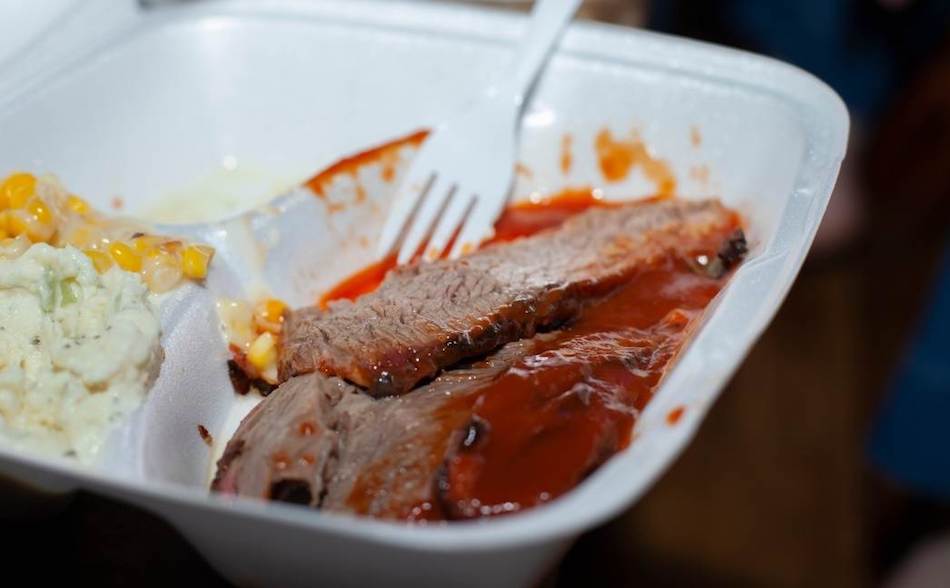
Most pitmasters will tell you to avoid USDA Select briskets. While it’s true that these low-grade cuts of beef are not ideal for smoking, that doesn’t mean they can’t be successfully cooked with the right techniques. In fact, with a few tricks from the pros, it is possible to get excellent results from a Select brisket. While Select briskets are often less expensive and can be tempting to purchase, it’s important to consider their lack of marbling and the potential for them to dry out during the long cooking process. However, with some careful preparation and the right techniques, it is possible to overcome these challenges and create a delicious, juicy brisket.
USDA Select Grade briskets are a low grade of beef that are less expensive, and not ideal for smoking due to their lack of marbling. This lack of marbling can make them prone to drying out during the long cooking process. However, there are techniques that can help to prevent a Select brisket from drying out, such as wrapping it in bacon or dry brining with salt. Cooking at a lower temperature and for a longer time can also help to keep the meat moist. While Select briskets may not be the best choice for smoking, it is possible to achieve good results if the correct techniques are used. For the best results, it is generally recommended to use Choice or Prime grade briskets, which have a decent amount of fat and marbling.
Key Points
- USDA Select is a low grade of beef graded by the USDA
- It is lower in quality than Prime and Choice due to lack of marbling
- Lack of marbling can make Select brisket lean and prone to drying out when smoked or cooked for long periods of time
- Techniques to prevent drying out include wrapping in bacon, dry brining with salt, injecting with broth or marinade
- Cooking at a lower temperature and for a longer time can also help to keep Select brisket moist
- While not ideal for smoking, good results can still be achieved with the right techniques
What is a USDA Select Brisket?
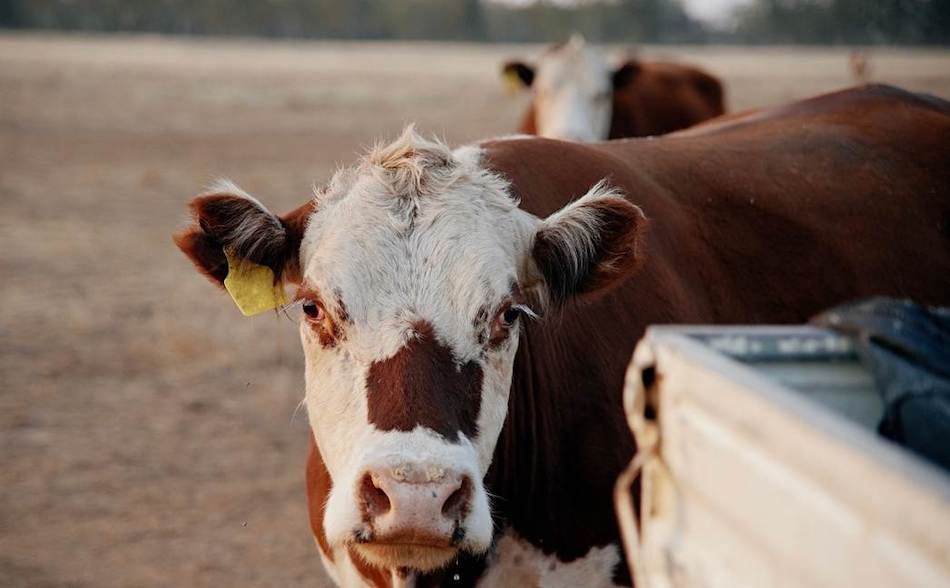
Select is a low grade beef graded by the U.S. Department of Agriculture (USDA). The major difference between Select and higher beef grades is the level of marbling. A Select grade brisket will be much leaner and contain hardly any marbling (the fatty striations in the meat). USDA Prime and USDA Choice grade beef have an abundance of marbling, which makes the meat more juicy and full of flavor.
Select Brisket vs Prime
Select and Prime are at opposite ends of the beef grades. A Prime grade brisket will contain a higher level of marbling than other beef grades. Plus, it’s more expensive. Prime beef is mostly used in restaurants, so you rarely see Prime briskets in stores. Select grade brisket is lean, and the lack of fat means the meat may dry out. There’s a significant price difference between a Select and Prime brisket.
Select Brisket vs Choice
A Choice grade brisket is probably the most common beef grade found in stores. Compared with Select grade, Choice beef has well marbled meat, making it ideal for brisket. The difference between Select and Choice is significant. However, if you find a Select brisket on sale, it’s still worth buying because there’s a few techniques you can use on the lower graded beef and still get good results. A Select grade brisket will take longer to cook than a Choice or Prime brisket. This is because of the low-fat content of the Select brisket.
Tips For Smoking a USDA Select Brisket
There are several things you can do to prevent your select brisket from drying out. This makes a Select brisket a challenge to cook over the many hours required to smoke brisket. A brisket with fat between the muscles will keep it moist during a long cook. A Select brisket contains no fat between the muscles, so you need to work extra hard to keep it dry.
1. Wrap Your Select Brisket in Bacon
A trick that pitmasters often use when smoking lean cuts of meat is to wrap the outside of the roast in bacon. The fat from the bacon will act like a natural fat cap, dripping down onto the meat, keeping it moist. So if you buy a Select brisket, buy some bacon as well. Wrap the bacon around the brisket, using toothpicks to keep the meat in place. You won’t get a nice brisket bark using this method, but at least you won’t get a dry brisket. It will also add more flavor to the meat.
2. Dry Brine Select Brisket
Salt will help a lean brisket retain moisture during the long 15 to 20 hour cook. By rubbing salt into the meat prior to cooking, the salt to penetrate the meat if you leave it for a few hours. Kosher salt or sea salt will work fine, just don’t use regular table salt. The salt will also add an enormous amount of flavor the brisket. A word of warning: if you’re going to dry brine your brisket, just make sure that your barbecue rub doesn’t contain any salt. I like to salt my brisket separately, and when I make my barbecue rub, I leave out the salt. Brisket Rub Recipe.

3. Injecting the Brisket
Another thing you can do to prevent a lean Select brisket from drying out is to inject the meat with broth or a marinade. This will ensure that your brisket is moist and replace the lost fluid that will probably get drawn out over the long cook. Injecting is the only way to get flavor and moisture into the center of the meat. All you need is a simple injector. You can buy injectors on Amazon for about $30 to $40. (I use this simple injector that I purchased from Amazon). You can either inject the meat with beef broth, beef stock, or a special marinade. Butcher BBQ sells a competition marinade that many pit masters use in competitions. For more on injecting brisket, check out this article. Should I inject brisket?
4. Wrap Your Select Brisket
Wrapping a brisket is an essential step in the smoking process, and it’s especially important if you are cooking a Select grade brisket. By wrapping the brisket, steam gets trapped inside the package, and almost braises the meat. Wrapping will soften the bark, but unless you want the brisket to become dry, you may need to sacrifice the outer layer.
The ideal time to wrap brisket is once the outer layer or bark has developed. During the first 5 or 6 hours of the cook, the goal is to allow the brisket to absorb smoke, allow the rub to set, and form the bark. The brisket should be well past 150°F, by the time it’s wrapped. You can either use aluminium foil or butcher paper to wrap your brisket. Don’t just use any old paper, it has to be specific food grade butcher paper. Paper will preserve the bark, allowing it to breathe, whereas aluminium foil will cause the bark to soften.
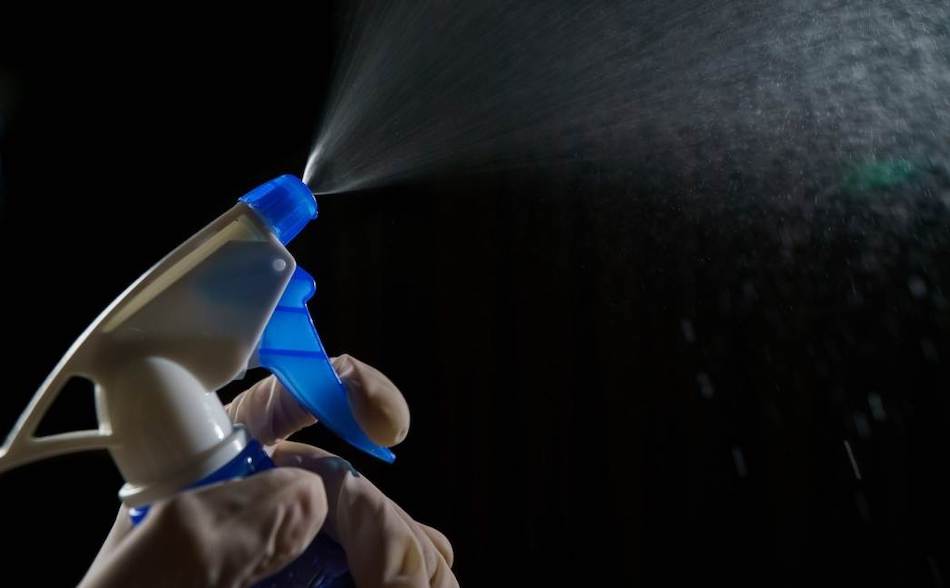
5. Spritzing Select Brisket
Spraying the brisket with liquid, or mopping it with a mop source, is a great way to keep your brisket moist during the long cook. Wetting the brisket will slow down the cook, give it more time to break down the connective tissue. You can use apple juice, beer, apple cider vinegar, broth or stock to spritz your meat. The 10 Best Spritz Liquids For Brisket.
6. Use Fat Trimmings To Keep Your Select Brisket Moist
An excellent technique I learned from the pros is to place a lean brisket into an aluminium pan and place it in your smoker. Prepare the brisket as normal, but lay fat trimmings on the rack above the meat. As the brisket cooks, the loose fat trimmings will drip onto the brisket, keeping it moist. Pitmasters sometimes use this technique and be used when smoking a brisket flat (the small lean brisket muscle) but the same principle can apply when smoking a Select brisket. The downside of this technique is the bottom of the brisket will have a soggy bark. However, at least your brisket won’t dry out.
7. Keep The Temperature Under Control
If you’re smoking a lean brisket, temperature control is critical. Keep your smoker between 225° F and 250° F. The moment you go above these temperatures, you’re putting your brisket at risk of drying out. If you don’t already, get yourself a good meat thermometer that allows you to track the temperature of your smoker, and the inside of your meat. The TP20 is the number one selling thermometer on Amazon. I’ve used it for years and it hasn’t failed me yet.
8. Take It To 203°F
We smoke brisket to an internal temperature of 203° F, or until it is probe tender. Test the brisket by inserting a toothpick into the meat. There should be no resistance, and it should feel like poking a stick of butter. It could take anywhere from 12 to 15 hours even longer to smoke a brisket. The total cook time would depend on the size of your brisket, and the temperature you are cooking.
9. Allow The Brisket To Rest
One of the most essential steps in the brisket smoking process is resting. This will allow the juices to reabsorb and give the muscle fibers time to relax. If you slice the brisket too soon, all the juices will spill out onto the cutting board. This is especially important for a Select grade brisket, which is already a challenge to keep dry. You need to do everything else right in order to get a juicy biscuit from a Select grade of beef.
10. Not Ready To Serve? Place The Brisket Into Holding
Another common technique is holding your brisket after it’s cooked. Holding is where you remove your brisket from the smoker, and place it in a dry cooler for up to 4 hours, even longer. If you keep the brisket in its wrapping, it should stay hot this entire time. The brisket will continue to cook, so it’s a good idea to leave internal thermometer inserted into the meat so you can keep track of the temperature.
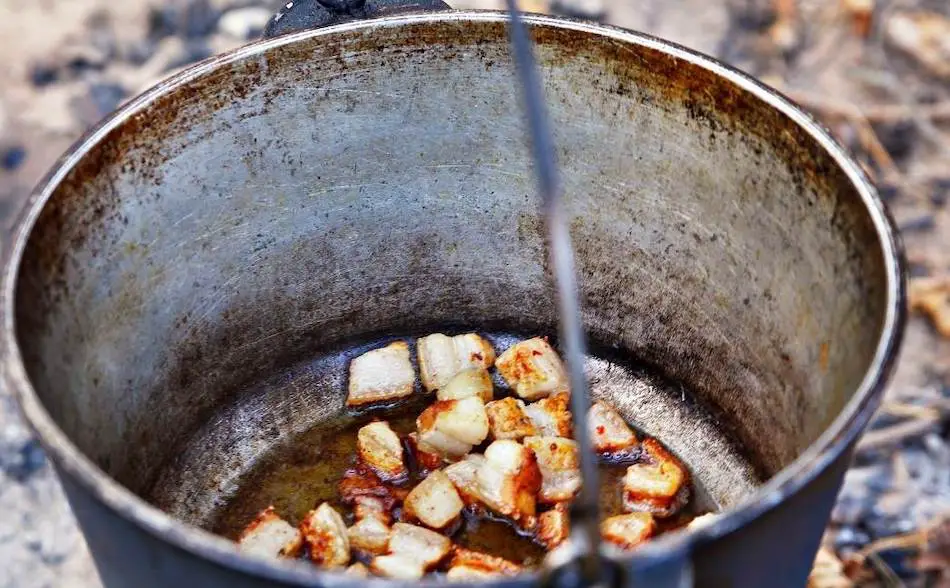
11. Pour Tallow on Your Select Brisket
Tallow is a great way to add some extra fat and moisture to your lien select brisket. Keep your trimmings from your brisket or other cuts of meat, and either cook them down in a pot or you can place them in an aluminium pan and cook the fat alongside the brisket. Separate the fat from the liquid, then pour the tallow over the brisket at the wrapping stage of the cook. To learn more about tallow, I’ve written a full-length article which goes into more detail. You can check it out here.
12. Trim The Brisket Correctly
Leave about 1/4 of an inch of fat on top of your brisket. This is the perfect amount of fat because it will be enough to shield the meat from the heat, but also thin enough to develop a bark. If you leave any more fat than this, smoke cannot penetrate the meat.
13. Choose a Good Select Brisket
Brisket selection is especially important when you are buying Select grade beef. Try to get a brisket with as much marbling as possible, which is sometimes hard to see. Look for a brisket with a decent fat cap if that is possible with a Select grade. A fat cap on the brisket will shield the meat from the hate over the long cook. If your brisket is too laying on top, parts of the meat will char. It’s nice to have a fat cap so you can place the meat towards the flame or the heat source.The USDA determines the beef grades and judge the meat on the level of marbling, the age of the animal, the tenderness and juiciness. The highest quality beef originates from young, well-fed cattle.
My Favorite Brisket Tools
Thanks for checking out this article. I hope you learned a few things. Here are some of my favorite tools I use when smoking brisket that may be useful to you. These are affiliate links, so if you decide to purchase any of these products, I’ll earn a commission. But in all honesty, these are the tools I recommend to my family and friends who are just starting out.
Meat Injector: Injecting meat is a great way to take your barbecue to the next level and help you make competition-style brisket. An injector is the only way you will be able to get flavor and moisture into the middle of the meat. The Beast Injector is a stainless steel injector that is sturdy and affordable. Check the latest price on Amazon here.
Brisket Marinade: The best injection solution on the market is the Butcher BBQ Brisket Injection. This marinade is used in competitions and is made by World Barbecue Champion pitmaster, Dave Bouska. You can find the marinade on Amazon here.
Butcher Paper: Wrapping brisket in butcher paper has become a huge trend in barbeque thanks to Aaron Franklin. Wrapping your brisket in paper will give you a nice brisket bark. However, you can’t just use any old paper, it has to be unwaxed, food grade paper. You can find it on Amazon here.
Brisket Rub: These days I make my own rub when possible, but I always have a few pre-made rubs for when I’m running low. Barbecue guru Malcom Reed produces Killer Hogs, one of the best brisket rubs I’ve found over the years. Another great rub is Slap Yo Daddy, made by brisket master and multiple World Barbecue Champion, Harry Soo.
Meat Thermometer: There are dozens of fancy thermometers on the market, but I still use my trusty TP20. For around $50, I have a high-quality meat thermometer with two probes, and can track the temperature of my smoker with one probe, and my meat with the other probe. The ThermoPro TP20 is an Amazon Best Seller because it’s the easiest thermometer to operate, is durable, highly accurate, and comes with pre-programmed meat settings.
Instant Read Thermometer: Arguably, the second most important tool you need is a fast and accurate instant-read thermometer. These tools play an important role in the latter stages of the cook when the meat needs regular checking in multiple areas. I use the ThermoPro TP19 because it can do everything a ThermaPen can do, but for a fraction of the cost. You can check out the TP19 on Amazon here.
Advanced Thermometer and Automatic Temperature Controller: Once you’re ready to take things seriously, the FireBoard 2 Drive is a six-channel Bluetooth/Wi-Fi thermometer that can monitor up to 6 pieces of meat, control and graph your cook sessions on your smartphone, and attaches to an an automatic blower that will convert your charcoal smoker to a set-and-forget. This is one of the most advanced meat thermometers on the market. You can check it out on the FireBoard website here.