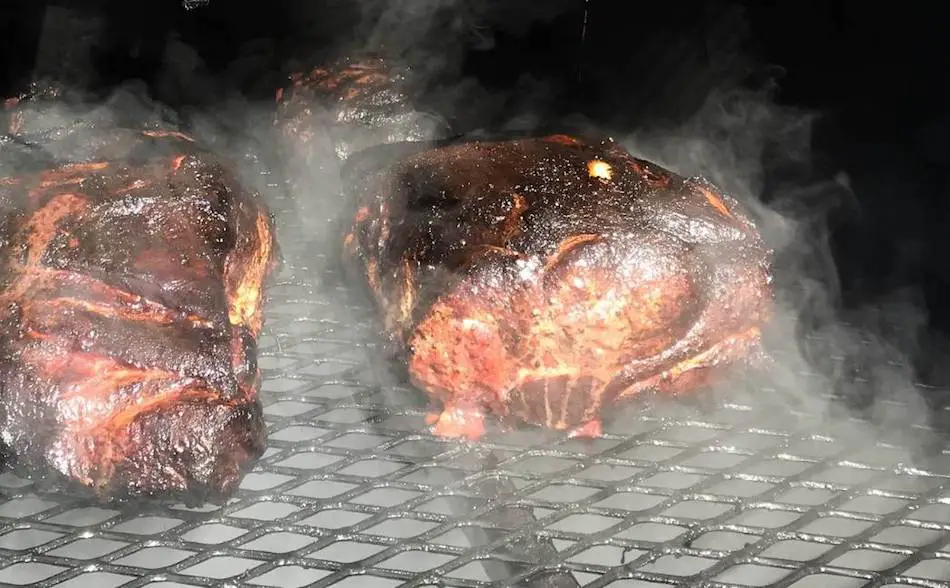
A common question people ask is “should I cook pork butt fat-side-up or fat-side-down?”. So which way is better? Turns out, there are pros and cons for both ways. In this article, I’ll explore the differences.
If the heat from your smoker is coming from below the meat, lay the pork butt fat-side-down so it doesn’t get over-exposed to the heat. The pork fat will protect the meat, so it’s less likely to dry out. If you have a smoker where the heat is coming from above, then place the pork butt fat-side-up. So ultimately, your decision depends on the type of smoker that you’re using.
Why Direction Matters
Pork butt is a large cut of meat that will take several hours to cook. Avoiding drying out the butt will be your biggest challenge — as it is when slow roasting any large cut of meat. First, you need to identify the direction of the heat source. One way to prevent moisture loss is to place the pork butt fat-side-down with the thickest part facing towards the heat source.
You Smoker’s Heat Direction
The heat direction from charcoal smokers comes from below. So if you’re using a kettle grill, drum smoker, a kamado/egg-style grill or a bullet smoker, then you should place your pork butt fat-side-down. That way, the fat will give the pork some protection from the hottest part of the smoker. Some smokers, such as kettle grills, sometimes have the fire to one side. If that’s the setup you’re using, place the thickest part of the pork towards the side of the smoker, generating the most heat.
Other smokers, like electric smokers and pellet grills, produce an even heat around the cooking chamber, so where you place your pork butt is less important. Offset smokers (stickburners) have a fire box separate from the cooking chamber. With one of these smokers, the part of the grill closest to the firebox will be hotter, but this won’t make much of a difference to the direction of the fat cap, but I would direct the thicker part of the roast towards the firebox.
Consider More Than Direction
Direction is important, but there’s so many other techniques and decisions that will make a huge difference to your pork butt. There are other ways to prevent moisture loss such as wrapping, spritzing, brining, injecting and fire management. It’s also important to buy a pork butt with lots of marbling. These decisions are just as important as how you place your meat on the grill.
Pork Butt Fat Side Down— 7 Pros
There are pros and cons with pork butt fat-side-up and fat-side-down. Here are the pros.
1. Fat Side Down Buys Time
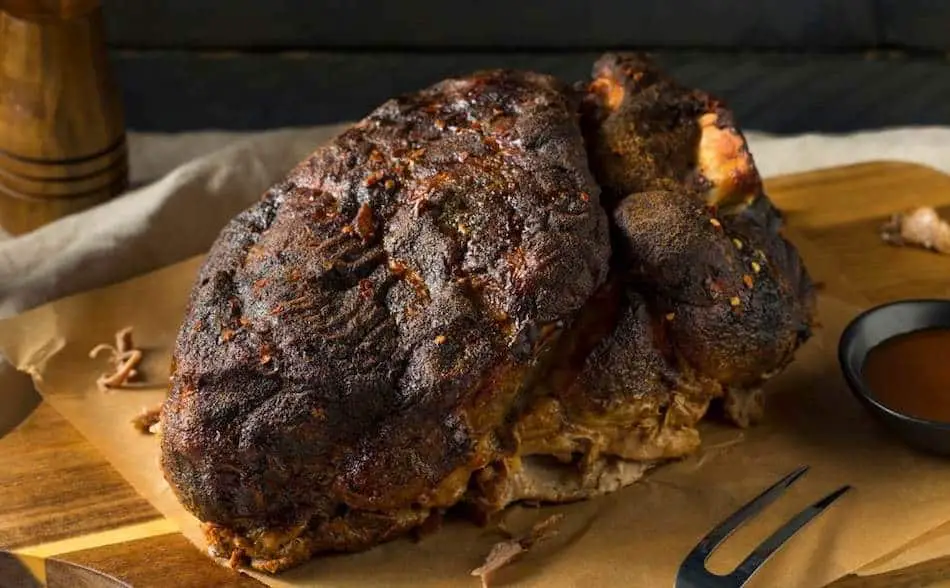
Low-and-slow cooking is all about buying time. We want the meat to sit on the grill for as long as possible, so it has a chance to break down all the connective tissue.
If the pork butt cooks too fast, the meat will be tough. So we need to slow down the cook as much as possible. This is one benefit of spritzing and the use of water pans. It slows the cook and buys time. Placing the pork butt fat-side down will all help slow the cook.
2. Fat Down Prevents Charring
Fat facing upward can cause the bottom meat side of the pork butt to burn if you don’t rotate the meat.
Placing the pork fat-side-down protects the meat from burning underneath—especially when cooking with charcoal fires. Electric smokers, pellet grills, and gas smokers produce less charring, because it’s easier to control the heat.
3. The Fat Insulates the Meat and Helps Retain Moisture
When the pork butt is faced fat-side-down, the fat will absorb a lot of heat, shielding the meat side. If the pork was meat side down, more moisture will be drawn out, and therefore the meat may become dry.
4. Dripping Fat Creates Smoke
Normally, our source of smoke comes from burning wood and charcoal. But if you’re cooking fat-side-down on a charcoal smoker, you will get some extra smoke if some of the fat drips onto the fire. Be careful, though. It’s usually a good idea to place a drip pan underneath the meat. A pan will prevent grease fires and make cleanup easier. However, if a little of fat drips onto the fire, you’ll get some more smoke on your meat.
5. Fat Down Produces Better Bark
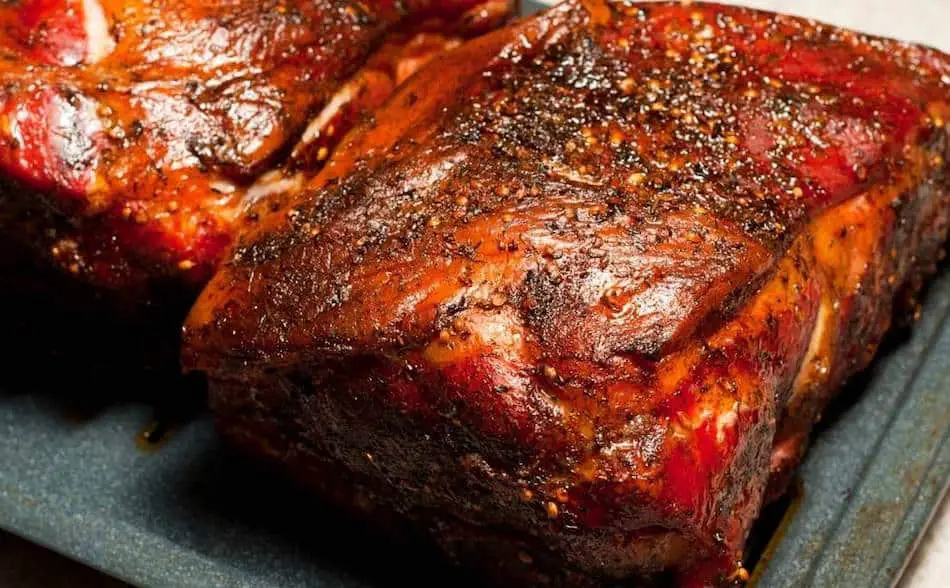
One of the best features of the smoked meat is the bark. Pork butt cooked fat-side-down will have better bark than a meat-side-down butt. Bark forms when the rub and the fat fuse to the dehydrated meat. When the fat is facing up, the fat melts and washes away some of the seasoning. This can cause a patchy bark.
6. Fat Side Down Tastes Better
The rub adds an important layer of flavor to the meat.
A fat-side-up pork butt can cause some of the rub to wash off, leaving the meat with less flavor. Fat can drip down the sides and underneath the pork butt. This constant drip of fat can wash off the rub.
7. Presentation
A pork butt cooked fat-side-down will present far better. The meat on the underside of a fat-side-up pork butt won’t look as good because of charring. However, fat-side-down cook more evenly, and produces a better bark.
Pork Butt Fat-Side-Up
One theory behind the fat-side-up cook is the fat will baste the meat and keep the pork butt moist. However, this is just a theory. Many people in the barbecue community believe there’s no merit to the basting theory. Critics say most of the fat drips onto the sides meat, then into the drip tray. This will leave the bottom of the pork butt dry. Some basting will occur, but not much.
Other Tips
- If you really want fat basting, a better way would be to place some fat trimmings on the rack above your pork butt. That way, you get the best of both worlds. After you have trimmed your pork butt, put aside the fat trimmings. If your smoker has two or more racks, place the fat above the pork butt. Some people also cook a tray of beans underneath the pork butt. The tray of beans will catch some fat, giving the beans more flavor.
- Place the thickest part of the pork butt in the direction of the heat. This will protect the thinner end of the meat, so it cooks evenly.
- You want to leave a 1/4 inch of fat on top of the pork butt. This is enough to protect the meat, and enough to develop a nice bark. Any thicker than this, the fat won’t render.
- You can also score the fat on top of the pork butt so the smoke and seasonings rub can reach the meat. Take a knife and cut a criss-cross pattern into the fat, but avoid cutting into the meat.
- Pellet grills are all different, so the way you place the pork butt on the grill will depend on the style of the pellet grill. Some pellet grills are vertical, and the fire pot is at the bottom. If your fire pot is at the bottom, place the pork butt fat-side-down so the fat can protect the meat from the heat.
- An electric smoker will cook the pork butt with indirect heat. So where you place the butt isn’t an issue.
Rub Recipe
Standard Barbecue Rub

I found this great rub recipe through How To BBQ Right. I use this recipe and alter it slightly depending on what I'm cooking. Made by the guys at Townsend Spice & Supply: https://townsendspice.com/
Ingredients
- - ½ Cup Paprika
- - ½ Cup Salt
- - ½ Cup Sugar
- - ½ Cup Granulated Garlic
- - ¼ Cup Granulated Onion
- - ¼ Cup Chili
- - ¼ Cup Cumin
- - 2 Tablespoons Black Pepper
- - 2 Tablespoons Dry Mustard
- - 1 Tablespoon Cayenne Pepper
Instructions
- Combine all the spices together in a large mixing bowl
- Store rub in rub shakers
Pork Butt Time Planner
Pork Butt Recipe
Below is a standard pork butt recipe for a pellet grill, or any other smoker.
Pork Butt On A Pit Boss Pellet Grill - 12 Steps
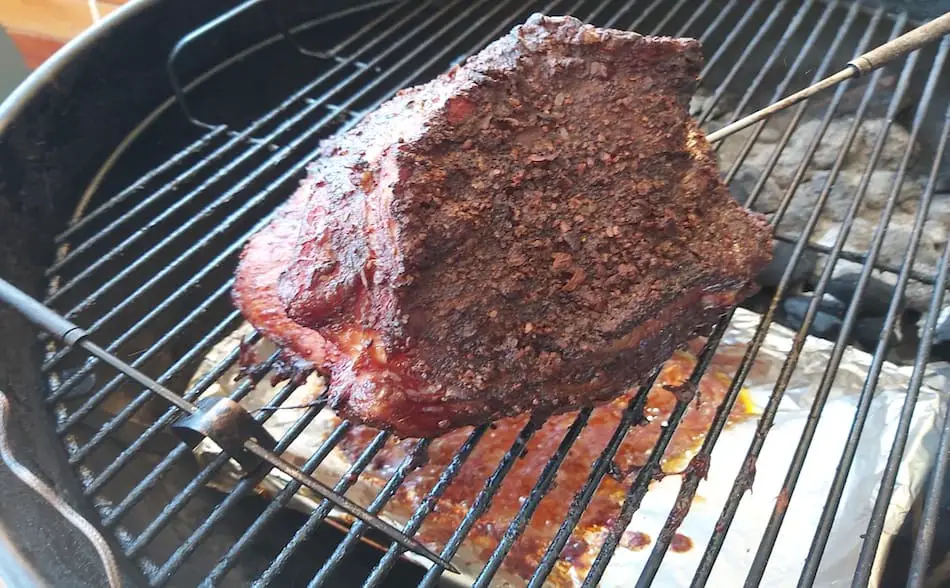
Slow smoked pork butt, ideal for pulled pork.
Ingredients
- Pork butt (Shoulder)
- Barbecue rub
- Apple cider vinegar or apple juice (spritz)
- Olive oil or yellow mustard (binder)
Instructions
- Set your PitBoss to 225°F to 250°F (or start low for 4-5 hours, then increase no higher than 275°F).
- Prepare the meat with rub and seasonings
- Place the pork fat side down (on the middle rack of a vertical PitBoss)
- Insert a thermometer probe into the meat
- Let the meat cook for 2-3 hours. Rotate the meat if there are hot spots on your PitBoss (vertical PitBoss grills are hotter towards the back).
- At the 3 to 4 hour mark, begin checking the bark on the pork with your finger. (Don’t spritz until rub has fused to the meat).
- Begin spritzing every 30 to 40 minutes once the bark has set. Use apple cider vinegar, apple juice, or plain water.
- Wrap the pork in foil once the crust has formed and internal meat temperature has reached between 160°F and 170°F.
- Continue cooking the pork butt, increasing the temperature of your PitBoss no higher than 275°F. Alternatively, turn off your PitBoss and finish in the oven.
- Once the internal meat temperature reaches 195°F, begin checking the temperature and tenderness regularly.
- Once the meat reaches 200°F to 205°F and is soft like butter, remove from the heat.
- Allow the pork to rest 30 minutes to 1 hour or place the meat into holding.
Nutrition Information:
Serving Size:
100 gramsAmount Per Serving: Calories: 168
My Favorite Meat Smoking Tools
Thanks for checking out this article. I hope you learned a few things. Here are some of my favorite tools I use when smoking brisket that may be useful to you. These are affiliate links, so if you decide to purchase any of these products, I’ll earn a commission. But in all honesty, these are the tools I recommend to my family and friends who are just starting out.
Meat Thermometer: There are dozens of fancy thermometers on the market, but I still use my trusty TP20. For around $50, I have a high-quality meat thermometer with two probes, and can track the temperature of my smoker with one probe, and my meat with the other probe. The ThermoPro TP20 is an Amazon Best Seller because it’s the easiest thermometer to operate, is durable, highly accurate, and comes with pre-programmed meat settings.
Instant Read Thermometer: Arguably, the second most important tool you need is a fast and accurate instant-read thermometer. These tools play an important role in the latter stages of the cook when the meat needs regular checking in multiple areas. I use the ThermoPro TP19 because it can do everything a ThermaPen can do, but for a fraction of the cost. You can check out the TP19 on Amazon here.
Wireless Thermometer: The latest thermometers on the market have no wires and can be controlled by wi-fi via your phone. Airprobe 3 is the best of this technology.
Butcher Paper: Wrapping brisket in butcher paper has become a huge trend in barbeque thanks to Aaron Franklin. Wrapping your brisket in paper will give you a nice brisket bark. However, you can’t just use any old paper, it has to be unwaxed, food grade paper. You can find it on Amazon here.
Advanced Thermometer and Automatic Temperature Controller: Once you’re ready to take things seriously, the FireBoard 2 Drive is a six-channel Bluetooth/Wi-Fi thermometer that can monitor up to 6 pieces of meat, control and graph your cook sessions on your smartphone, and attaches to an an automatic blower that will convert your charcoal smoker to a set-and-forget. This is one of the most advanced meat thermometers on the market. You can check it out on the FireBoard website here.
