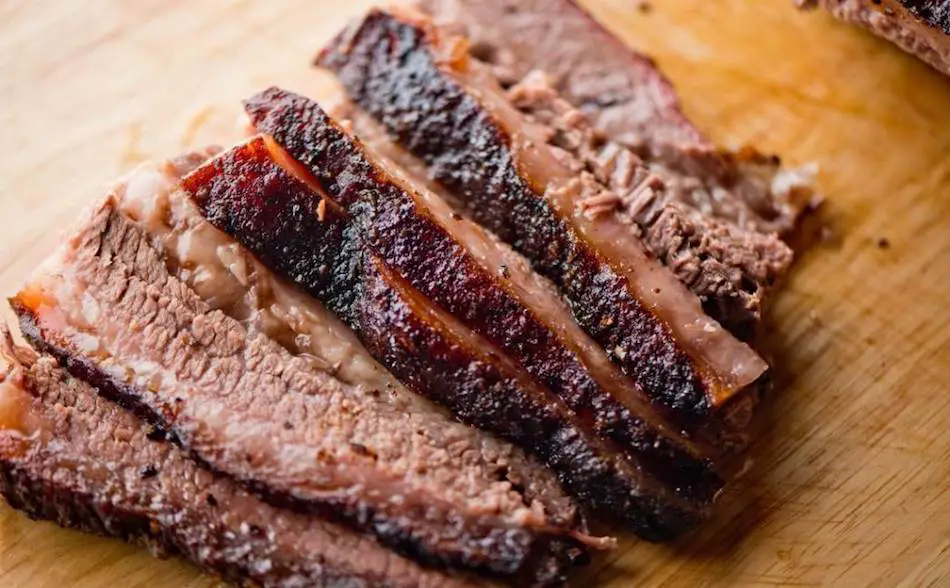
If you haven’t tried dry-aged brisket yet, it’s time to change that. Dry-aged brisket has undergone a special aging process that unlocks its full potential of flavor and tenderness. Imagine the rich, beefy flavor you know and love, intensified and balanced by a subtle nuttiness that comes from the aging process. And that’s just the beginning, adding a touch of smoke to the mix takes the taste experience to another level. In this article, we will explore the unique qualities of dry-aged brisket and how to best enjoy it. So, let’s dive in and see what makes this delicacy so special.
Dry-aged brisket is a cut of meat that has undergone a specific aging process, where it is stored in a controlled environment for a period of time, usually between 28-35 days. This process improves the flavor and tenderness of the meat by enhancing its natural flavor and breaking down the muscle tissue. The resulting flavor of dry-aged brisket is often described as nutty and beefy, with a unique and complex taste. The addition of smoke to dry-aged brisket adds another layer of flavor that enhances the overall taste experience. The process requires specific equipment, such as a walk-in cool room, to control the temperature, humidity, and airflow, and it can be risky if not done correctly. Vacuum sealing meat in plastic will preserve the meat, but this is not ageing the meat, and it will not add any flavor to the brisket. Dry-aged brisket is considered a delicacy and is more expensive than non-aged brisket due to the extra work, storage, and equipment required.
Key Points
- Dry-aged brisket has a unique and complex flavor due to enzyme activity and slow dehydration
- Aged brisket is more tender and flavorful than non-aged brisket
- Dry-aging requires a specific temperature, humidity, and airflow to prevent rotting and ensure optimal flavor and tenderness
- Dry-aging brisket can be done at home, but requires the right equipment and knowledge to ensure safety
- A walk-in cool room with controlled temperature, humidity, and airflow is ideal for aging brisket.
- It’s important to monitor temperature, humidity, and airflow throughout the aging process to ensure the meat is safe to eat and has the best flavor and tenderness.
- UV lights are used in the dry-aging process to kill any airborne bacteria.
- The characteristic of aged brisket is a more intense beef flavor, with an almost nutty taste.
- Dry-aging brisket will result in a weight loss of about 30% from trimming and moisture loss, and a layer of black crust on the outside that needs to be removed.
- Dry-aged beef will cost more due to the extra work, storage, and equipment required.
- Vacuum sealing meat in plastic will preserve the meat, but it will not add any flavor or age the meat.
- To dry-age brisket, remove it from vacuum packaging, place it on a metal rack or hang it with an S hook in a cooler for 14-35 days. Trim the excess fat and crust before cooking immediately.
| Factors | Ideal Range | Importance |
|---|---|---|
| Temperature | 32-39° F (0-4° C) | Critical for preventing microbial growth and ensuring proper enzyme activity |
| Humidity | 60-75% | Prevent mold growth and control dehydration of meat |
| Airflow | Controlled and stable | Allows circulation of air around the meat, preventing spoilage and promoting enzyme activity |
| Aging duration | 28-35 days | Optimal time for flavor development and tenderness |
| Equipment | Walk-in cool room or specialized dry-aging fridge | Proper storage environment to control temperature, humidity, and airflow |
| Monitoring | Regular checks on temperature, humidity, and airflow | Ensures safety and optimal flavor and tenderness of the meat. |
Ageing and Enzyme Activity
Enzyme activity makes aged meat more tender and more flavorful. There’s a lot of enzyme activity during the first 14 days after the meat has been slaughtered. Traditionally, meat is dry-aged between 28-35 days. It is at this point of the ageing process with meat reaches its optimal level of flavor, tenderness and juiciness.
The enzymes react to the protein, changing flavor and the texture of the meat. This occurs because after the animal has been slaughtered, the cells no longer function, and the enzymes begin their work of breaking proteins into amino acids, etc.
Why Does Dry-Aged Beef Taste Better?
- When a brisket is dry-aged, its flavor will taste more complex because of a slow dehydration and concentrating a flavor into the meat cells.
- Aged Brisket is more tender
- Aged meat is also more tender. This is because muscle enzymes break down the muscle tissue, making the meat more tender and less chewy.
| Dry-Aging Method | Pros | Cons |
|---|---|---|
| Wet-aging | More consistent flavor, shorter aging time | Less flavor development, less tenderness |
| Dry-aging | More flavor development, more tenderness | Longer aging time, higher risk of spoilage |
| Cryovac aging | More consistent flavor, less risk of spoilage | Less flavor development, less tenderness |
How to Dry-Age Brisket
Dry-ageing brisket needs to be done at the correct temperature—to stop the rotting process. To avoid rotting, you need to use the right equipment to age the meat safely. Before attempting to age meat, there are a number of things to consider.
Can You Dry-Age Meat at Home?
Dry ageing is a complicated process, and you need to have the correct tools. You really need to know what you’re doing, otherwise you could put your health at risk. Dry ageing can be dangerous if you don’t know what you are doing. In order to dry age meat safely, the meat needs to be stored at a very precise temperature, a precise humidity, and precise airflow. If these things are not controlled, the meat is at risk of microbial growth or excess spoiling.
How to Dry-Age Brisket
There are three important things to consider when dry ageing meat. These three things need to be monitored carefully, otherwise you cannot dry age safely. The three most important factors are:
- The temperature of the cooler
- The humidity
- The airflow.
A Proper Cool Room
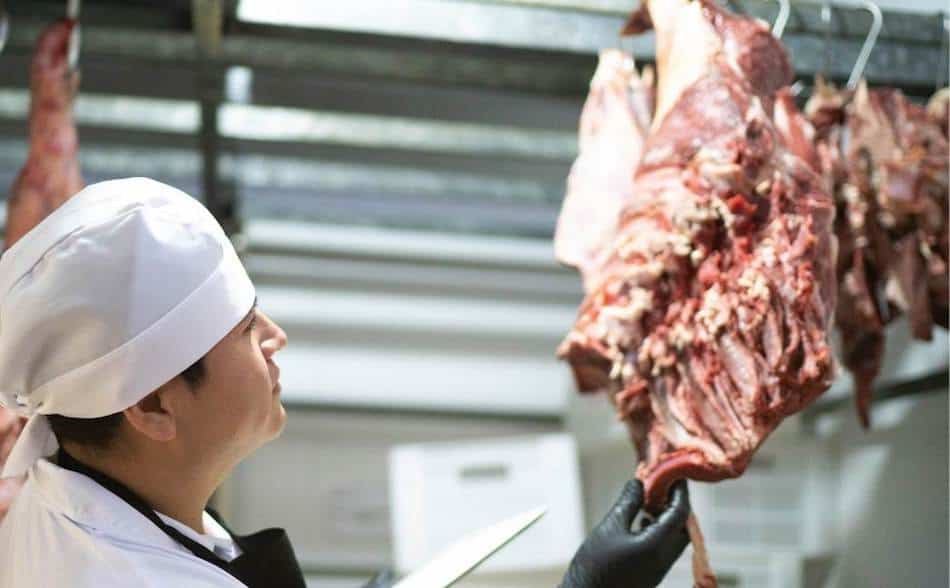
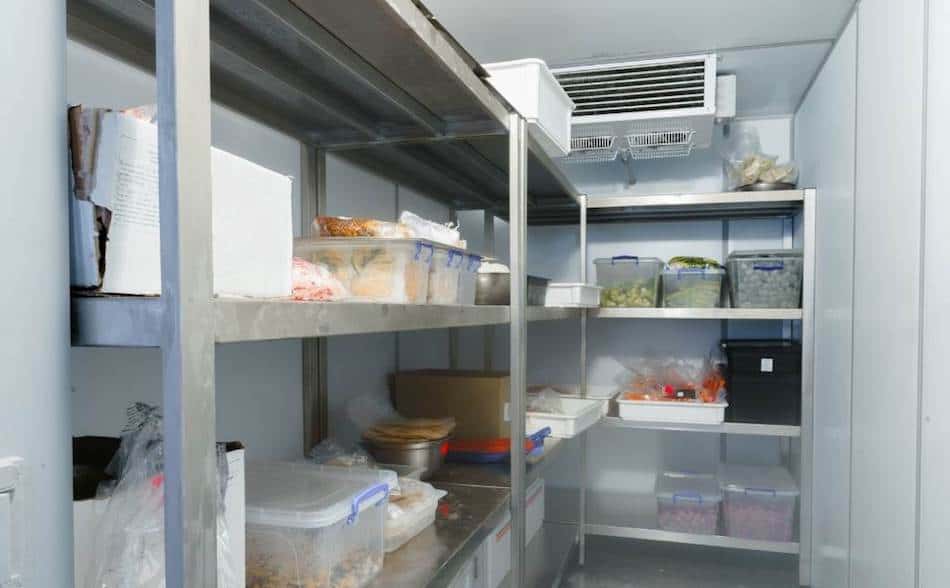
First, you need a proper cool room. You cannot dry out brisket in a regular fridge. If you have access to a cool room, this is the best way of ageing a brisket. You need a cooler where you can control the temperature, humidity, and airflow.
- If you’re dry-ageing the meat in a large walk-in cool room, you can run a fan next to the meat to control the airflow.
- You need to monitor the humidity, airflow stability of the cool room.
- The meat will need to be placed onto wire racks or slated shelves so airflow can circulate the meat.
- If it is a traditional meat cool room, you can hang the brisket with “S” hooks on the meat racks.
Storage Temperature
Temperature is extremely important when dry ageing meat. Once the temperature of the cool room increases, microbial growth may occur and spoil the meat. If the temperatures go below the recommended range, then the meat will start to freeze and icicles will form and the ageing process will stop. To dry age brisket, keep the temperature between 32 and 39° F, or 0 to 4° C.
Can You Use a Regular Fridge?
If you were to use a regular fridge at home, it’s important that it’s not opening and closing a lot. The meat would need to be kept at exactly 32 to 39° F, with good airflow. However, it would be much better If you can get access to a walk-in fridge.
Relative Humidity
Humidity is also important during the ageing process. If the humidity is too high, mold will grow too quickly. If the humidity is too low, the beef will dry out and won’t be as juicy. The idea level of humidity is 80% to 85%.
You need to use a refrigerator that can monitor the humidity of the cooler. Humidity needs to be between 80 and 85%, and if it goes beyond this, the meat is at risk of microbial growth. If the humidity drops below 80%, you will lose more mate because you have to trim more.
Airflow
Airflow is very important when dry-ageing meat. Bacteria grows in moisture, so it’s important the outer layer of the meat is dry. Dry-ageing cool rooms have fans to increase the airflow in the refrigerator and stop the growth of mold on the meat.
Airflow needs to be between 0.5-2m/s (1.6. -6.6 ft/s). If there isn’t enough airflow, more microbial growth will occur, and the meat will spoil. Once to air flow goes beyond this, you will lose more weight and have to trim more off the meat.
Other Things to Consider When Ageing Meat
UV Lights. Also, UV lights are used in the dry ageing process to kill any airborne bacteria.
Taste. The characteristic of aged brisket is a more intense beef flavor, with an almost nutty taste.
Yield. If you dry-aged brisket, you will lose about 30% weight from trimming and moisture loss. A dry aged brisket will have a layer of black crust on the outside that needs to be removed.
Cost. Dry-aged beef will cost more because so much work has to go into the entire process, storage and equipment. The total yield is also a consideration is also the amount of weight loss from trimming and moisture.
Does Vacuum Sealing Age Meat? Vacuum sealing meat in plastic will preserve the meat, but this is not ageing the meat. Vacuum packaging will not add any flavor to the brisket.
How to Age Brisket
- Remove the briskets from the vacuum packaging.
- Place the brisket on a metal rack which has good airflow around the entire brisket. Otherwise, hang the meat with an S hook.
- Leave the brisket in the cooler from a minimum of 14 days but no longer than 35 days.
- Remove the dry aged brisket from the cooler and trim the excess fat and crust from the outer layer.
- Cook immediately. Once you have removed the excess crust and fat from the dried brisket, it needs to be cooked straight away. Don’t place it back in the fridge for further storage.
| Brisket Type | Description | Flavor Profile |
|---|---|---|
| Dry-Aged | Aged for a certain period of time in a controlled environment to improve flavor and tenderness | Nutty, beefy, complex |
| Wagyu | High-quality Japanese beef known for its intense marbling and rich flavor | Rich, buttery, intense |
| Select USDA | Lower grade meat that has less marbling and may be less tender | Less flavorful, less tender |
| Prime USDA | Higher grade meat with more marbling and better flavor and tenderness | Rich, juicy, well-marbled |
| Choice USDA | Mid-grade meat with moderate marbling and good flavor and tenderness | Tasty, tender, decent marbling |
| Angus | Beef from the Angus breed of cattle known for its consistent quality and rich flavor | Beefy, rich, well-balanced |
| Grass-Fed | Beef from cattle that have been primarily fed grass instead of grain | Leaner, more gamey flavor, healthier |
| Grain-Fed | Beef from cattle that have been primarily fed grain instead of grass | More marbled, rich flavor, less healthy |
How To Smoke An Aged Brisket – 12 Steps
Smoking a brisket is a marathon effort. There are so many techniques that you can use, but with an aged brisket, just keep it nice and simple. This meat will already be packed with flavor, so you don’t need to do much.
1. Dry Brine for Flavor and Moisture
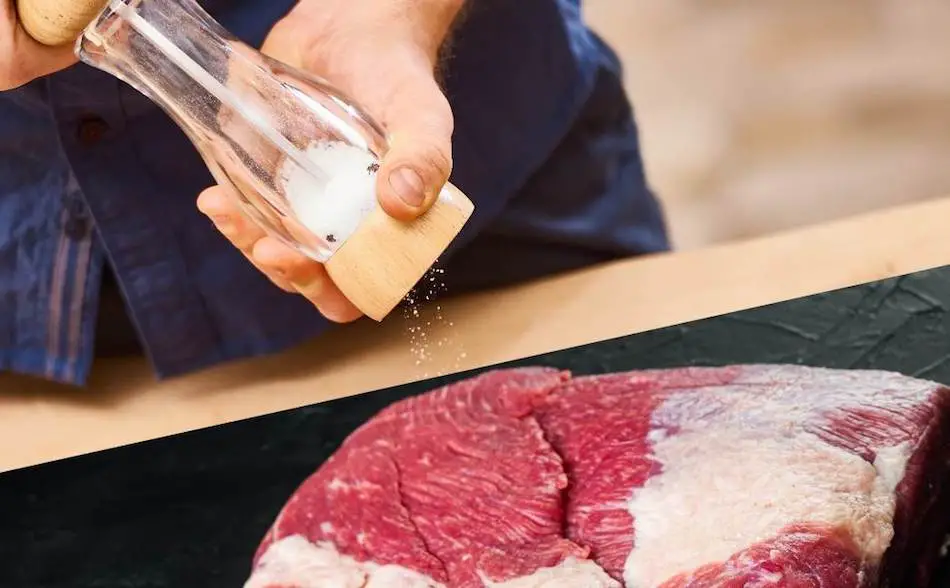
I always like to dry brine brisket with kosher salt for an hour before smoking. Salt adds so much flavor and helps the brisket retain moisture during the long cook.
After about 30 minutes to an hour, you’ll notice the salt will draw some of the moisture out of the brisket, making the surface of the meat nice and sticky for the rub. If you dry brine often, you won’t even need a slather/binder such as olive oil or mustard.
To dry brine a brisket, sprinkle some kosher salt on both sides of the brisket. A word of warning. If you are going to dry brine your brisket, make sure your rub doesn’t contain much salt.
2. Trim the Brisket Like a Pro
Trim the brisket and leave 1/4 of an inch of fat on top. Remove all the silver skin from the bottom of the brisket. Cut a v shape into the thick deckle fat.
When smoking a normal brisket, it’s important to leave 1/4 inch of fat on top to protect the brisket from drying out. A dry-aged brisket will require more trimming to remove the decayed crust. You may not be able to save 1/4 inch of fat, but at least try to keep some fat on top, otherwise your brisket may dry out when cooking.
If your dry-aged brisket doesn’t contain much fat after the trimming process, there are a couple of things you can do to protect the brisket during the long slow cook.
- Make sure you are cooking indirectly, meaning you have the fire on one side of the smoker and the meat the other.
- Keep the thickest part of the brisket (the point), towards the heat source to shield the more vulnerable and thinner flat.
- Some people place fat trimmings on the rack above the brisket, so it will drip down onto the meat during the cook and provide some natural basting and protection.
- Wrap the brisket in foil during the second stage of the cook.
- Spritz the brisket with apple cider vinegar every hour.
- Buy a brisket with high marbling. This will keep the brisket moist.
- Dry brine the brisket prior to smoking. The salt will help the meat retain moisture.
- Rest the brisket for 1 hour after smoking.
3. Use a Binder So the Rub Sticks
If you want the rub to stick to the brisket, slather the meat in some olive oil or yellow mustard prior to applying the rub. This will help the rub stick to the meat, and you won’t be able to taste it. If your rub doesn’t stick, then you will end up with a patchy bark. The rub plays an important role in bark development.
4. Apply the Rub for Bark and Flavor
You can either use a simple Texas-style rub of salt and pepper, or make a more complex rub. When smoking quality beef, such as wagyu or dry-aged brisket, let the meat be the star of the show. The last thing you want to do is have a rub dominate the flavor. The same is true for a marinade.
By injecting the meat with marinade, or applying a thick layer of rub and seasoning is only going to take away from the natural beef and smoke flavor. If you were smoking a low-quality grade of beef such as USDA Select, then you need to do everything you can to get some flavor and moisture into the meat. In that case, you would inject and use a multi-ingredient rub.
Try a Franklin-Style Texas Rub
BBQ pitmaster Aaron Franklin only ever uses a salt and pepper seasoning when smoking brisket. This is a traditional rub used in Texas and consists of a 50/50 mix of kosher salt and a nice coarse black pepper. Franklin uses a cafe grind 16-mesh black pepper and Morton’s kosher salt. For more on a Texan-style rub, check out this article: Franklin’s Brisket Rub
5. Fire Up Your Smoker
Set the temperature of your smoker between 225° F and 250° F. This is the ideal range to smoke any brisket. Brisket contains a lot of connective tissue, collagen, etc. The only way this connective tissue can break down is time at low temperature. If you were to cook brisket at a higher temperature, the meat will cook and be safe to eat, but it will be chewy because the connective tissue didn’t have a chance to break down.
6. Throw on Some Wood
Use a smoking with that blends well with beef such as hickory, pecan, or oak. Be careful using mesquite, as it may turn your brisket bitter.
7. Fat Side Up or Down?
When you place your brisket in the smoker, it’s best to place the brisket fat side down if the heat source is coming from below. That way, the fat will shield the meat from the heat. Place the thickest part of the brisket towards the fire, so that it cooks more evenly.
8. Develop a Crispy Bark
One of the best features of the smoked brisket is the crispy layer on the outer meat called the bark. The bark is a combination of dehydrated meat, smoke, rendered fat, and seasoning. The first phase of the cook is all about bark development, and the second phase of the cook is about crossing the finish line without drying the brisket out.
9. Spritz Intermittently
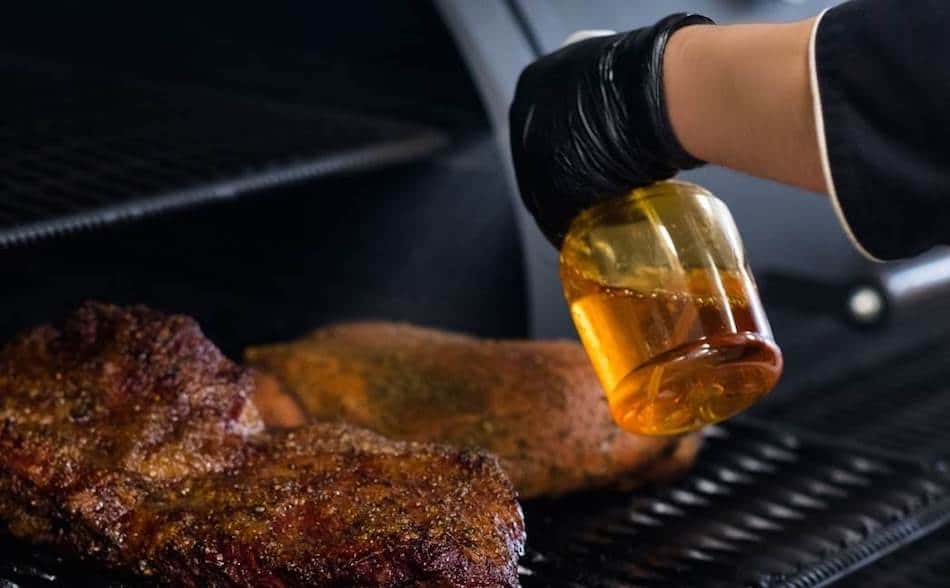
It’s best to leave the brisket alone for the first half of the cook. You may need to spritz the brisket intermittently, but only after about 4 or 5 hours. You may notice the brisket drying out on the edges, so a spritz will help the meat not to char. For a spritz, use apple cider vinegar, or apple juice in a spray bottle, and spritz the brisket every hour prior to wrapping. Don’t spritz too early, otherwise your seasoning will wash off the brisket, and you will destabilize your smoker. Only spirits after about 4 or 5 hours into the cook.
10. Wrapping Brisket for Moisture Retention
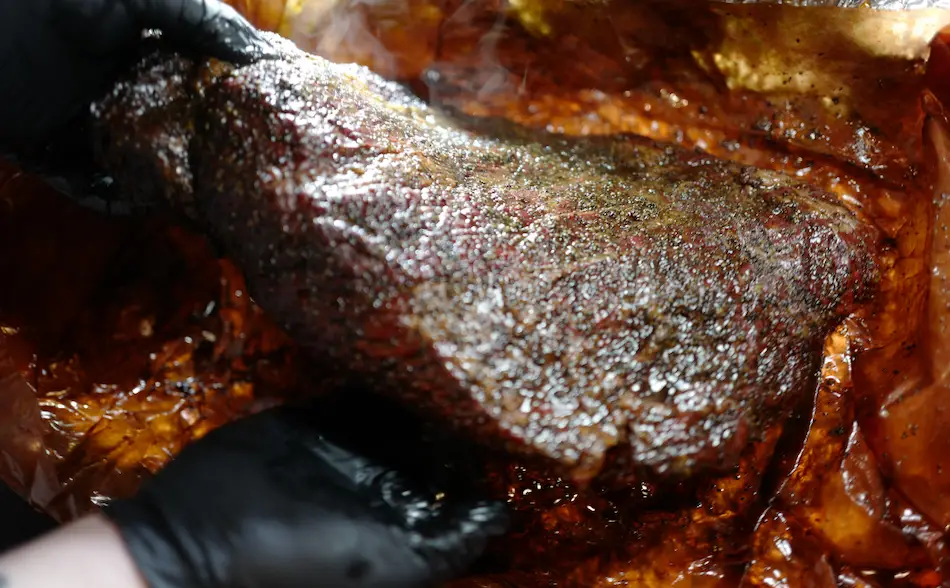
Wrapping is an important stage when smoking brisket. You don’t have to wrap, many people will just leave the brisket as-is for the entire cook, however I would highly recommend wrapping your brisket in either butcher paper or aluminium foil. Wrapping will help the brisket stay moist, will help tenderize the meat, protect it from overexposure to smoke, but most importantly, wrapping will help the brisket push through the stall and shave an hour or two off the total cook time.
Wrapping or trap moisture inside the meat and create steam, which will prevent the brisket from drying out.
Foil or Butcher Paper?
You can either wrap the brisket in aluminium foil or butcher paper. Both have their pros and cons. Most people use aluminium foil, because it’s more common in most kitchens.
Aaron Franklin did an interesting experiment where he wrapped one brisket in aluminium foil, the other in paper, and the other unwrapped. The brisket wrapped in foil had what Aaron described as a “pot roasty” flavor, and the bark was softer. The paper-wrapped brisket had a firm bark and a more “beefy” flavor. The unwrapped brisket was definitely smokier and had a crispier bark, but it wasn’t as juicy.
For more information on the difference between wrapping a brisket in foil or paper, check out this post: Foil Or Butcher Paper? This article also shows you all the best which papers on the market.
11. When is Brisket Done?
Once you have wrapped the brisket, place it back in the smoker and insert the thermometer probe. Cook the meat until it reaches an internal temperature of 203° F, or it has reached probe tenderness.
How to tell if brisket is done?
It’s best to go by tenderness testing rather than working to exact internal temperatures. Experienced pitmasters will go more by look and feel rather than temperature and time. The best way to tell if your brisket has reached the ideal temperature is to perform the toothpick test. When a brisket has reached the perfect tenderness, it should feel you’re poking a stick of butter. There should be almost no resistance.
12. Resting Brisket
Once the brisket has reached ideal tenderness, remove from the smoker. Allow the brisket to rest for about 1 hour. This will give the meat a chance to relax and stop pushing out liquid. If you were to slice right away, most of the meat juices would be lost. If you’re not ready to serve, place the brisket into a dry cooler and wrap the meat in a towel or dish cloth. Keep the meat it the foil and leave a thermometer inserted. It can remain in a cooler for up to 4 hours and still be hot when sliced.
Smoked Brisket

Tender, juicy smoked brisket cooked low and slow on a smoker.
Ingredients
- Brisket
- Barbecue rub
- Kosher salt ( for the dry brine)
- Yellow mustard or olive oil ( for the binder)
Instructions
1. Select a brisket with good marbling.
2. Trim the fat but leave 1/4 inch of fat on top.
3. Dry brine the brisket by sprinkling kosher salt on both sides of the meat and refrigerate for a few hours or overnight.
4. Inject the brisket with broth or marinade. * Optional
5. Slather the brisket with olive oil or yellow mustard. *Optional
6. Apply an even layer barbeque rub. If the rub contains salt, skip the dry brine step.
7. Use hickory, oak, pecan or your favorite smoking wood.
8. Set the temperature of your smoker between 225°F to 250°F
9. Place the brisket in smoker away from the heat source.
10. Fill the water pan with hot water.
11. Insert a leave-in meat thermometer into the brisket.
12. Leave the brisket alone for the first 3 hours or so. Allow the brisket to absorb smoke and develop a bark.
13. Once the rub has fused to the meat, begin to spritz the brisket every hour with either apple juice, broth, apple cider vinegar or beer. Otherwise, mop with a mop sauce.
14. Once the bark is firm, wrap the brisket in foil or butcher paper. By this stage, the meat should have reached an internal temperature between 150°F and 160°F.
15. Insert the thermometer into the meat and place the brisket back in the smoker.
16. Continue cooking until the brisket is tender as butter when poked with a toothpick or probe. The internal meat temperature should read somewhere between 195°F and 203°F when perfectly tender.
17. Allow the meat to rest for about 1 hour before slicing. If you're not ready to serve, place the brisket into a dry cooler. Keep the brisket wrapped in foil or butcher paper, then wrap again with a towel or dish cloth. The brisket will remain hot for over 4 hours. Keep a thermometer probe inserted.
18. Slice against the grain and serve.
Nutrition Information:
Serving Size:
85 gramsAmount Per Serving: Calories: 246 grams
Tips for Smoking Brisket
Brisket is called the King Of Smoking Meats for a reason. There are so many variables, so many techniques. Here are some more tips:
Use Good Meat Thermometers
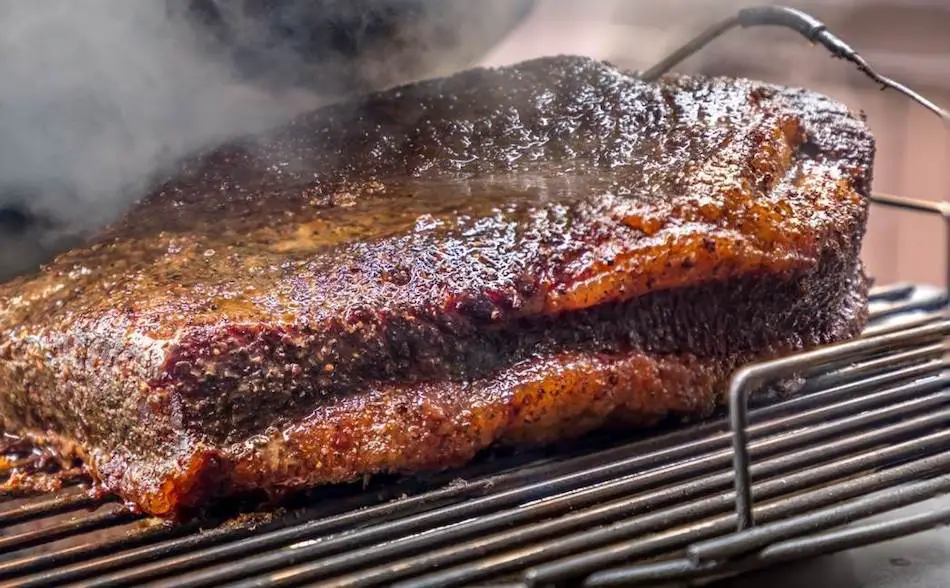
When smoking brisket, it’s important that you have the right tools to do the job. A decent meat thermometer is by far your most important tool. You need to be out of track with the temperature of your smoker, and the internal meat temperature of your brisket. A dual-probe thermometer will allow you to track both, so you don’t have to keep opening the lid of your smoker.
Check out our Thermometer Guide
There are dozens of thermometers on the market, ranging from $50 up to $350. You don’t have to spend a lot of money to get a quality thermometer. I’ve used the TP20 for years, and it only cost me about $50 on Amazon. It’s the number 1 selling thermometer on Amazon, is highly accurate and durable.
Nowadays you can get fancy Wi-Fi thermometers that later track your brisket anywhere in the world. Some will even allow you to control your smoker where you can adjust the temperature while you’re taking the dog for a walk. Then there’s the smart thermometers like MEATER with no wires at all!
Did you know there’s now a meat thermometer with no wires that can control with your phone? Check out MEATER
Smoke Absorption
The other reason we want to keep the temperature nice and low is, so the brisket gets to spend more time on the grill absorbing smoke. Hot and fast brisket cooked at high temperatures will spend less time on the grill, therefore will have less smoke flavor.
Don’t Open The Lid
One of the main reasons you need a good thermometer is so you do not have to keep opening the lid of your smoker. Constantly opening the lid of your smoker is one of the worst things you can do when smoking brisket. Not only will it destabilize your smoker, it will also add extra cooking time. Especially if it’s cold outside, you’re going to be letting all that cold air in and causing the heat to escape.
Brisket and Collagen
Brisket contains a lot of collagen, which has an elastic quality, which is why meat will taste chewy. One reason brisket is so delicious if cooked properly, this collagen will melt and turn into a delicious gelatin like texture. So the very thing that could make a brisket taste chewy can also be the very thing that makes a brisket absolutely delicious. Hello comes down to how you cook your brisket, so low and slow is the secret.
Indirect Cooking
When smoking brisket, it’s very important to cook the meat with indirect heat. If you have a charcoal grill, place the charcoal on one side of the smoker, and cook the meat on the opposite side. Never put the meat directly over the fire, otherwise it would burn and dry out. Pellet grills and electric smokers cook with indirect heat, so this isn’t a problem.
My Favorite Brisket Tools
Thanks for checking out this article. I hope you learned a few things. Here are some of my favorite tools I use when smoking brisket that may be useful to you. These are affiliate links, so if you decide to purchase any of these products, I’ll earn a commission. But in all honesty, these are the tools I recommend to my family and friends who are just starting out.
Meat Injector: Injecting meat is a great way to take your barbecue to the next level and help you make competition-style brisket. An injector is the only way you will be able to get flavor and moisture into the middle of the meat. The Beast Injector is a stainless steel injector that is sturdy and affordable. Check the latest price on Amazon here.
Brisket Marinade: The best injection solution on the market is the Butcher BBQ Brisket Injection. This marinade is used in competitions and is made by World Barbecue Champion pitmaster, Dave Bouska. You can find the marinade on Amazon here.
Butcher Paper: Wrapping brisket in butcher paper has become a huge trend in barbeque thanks to Aaron Franklin. Wrapping your brisket in paper will give you a nice brisket bark. However, you can’t just use any old paper, it has to be unwaxed, food grade paper. You can find it on Amazon here.
Brisket Rub: These days I make my own rub when possible, but I always have a few pre-made rubs for when I’m running low. Barbecue guru Malcom Reed produces Killer Hogs, one of the best brisket rubs I’ve found over the years. Another great rub is Slap Yo Daddy, made by brisket master and multiple World Barbecue Champion, Harry Soo.
Meat Thermometer: There are dozens of fancy thermometers on the market, but I still use my trusty TP20. For around $50, I have a high-quality meat thermometer with two probes, and can track the temperature of my smoker with one probe, and my meat with the other probe. The ThermoPro TP20 is an Amazon Best Seller because it’s the easiest thermometer to operate, is durable, highly accurate, and comes with pre-programmed meat settings.
Instant Read Thermometer: Arguably, the second most important tool you need is a fast and accurate instant-read thermometer. These tools play an important role in the latter stages of the cook when the meat needs regular checking in multiple areas. I use the ThermoPro TP19 because it can do everything a ThermaPen can do, but for a fraction of the cost. You can check out the TP19 on Amazon here.
Advanced Thermometer and Automatic Temperature Controller: Once you’re ready to take things seriously, the FireBoard 2 Drive is a six-channel Bluetooth/Wi-Fi thermometer that can monitor up to 6 pieces of meat, control and graph your cook sessions on your smartphone, and attaches to an an automatic blower that will convert your charcoal smoker to a set-and-forget. This is one of the most advanced meat thermometers on the market. You can check it out on the FireBoard website here.
