When your brisket stalls, it can really mess with your dinner plans. You might think you have calculated when to slice and serve, but then your brisket gets stuck in the stall for hours—making dinner late. Rather than letting the stall frustrate or catch you by surprise, we should try to understand the stall and work it into our planning. I wanted to find out everything there was to know about the stall and the strategies to beat it.
If you’re cooking in the 250° F temperature range, a brisket stall will usually last around 2 hours if the meat is wrapped in foil or paper. An unwrapped brisket, or a brisket cooked in the 225°F range, will also stall longer. Sometimes, the temperature may drop to the point where the brisket temperature goes backwards and the stall can last 5 or 6 hours—especially if you do nothing to help push it through.
It’s really hard to determine exactly when and for how long a stall will occur. There are so many variables, such as the type of smoker, the cooking temperature, the size of the brisket, the climate, etc. No cook is exactly the same. No piece of meat is exactly the same. All you can do is plan and make an estimated guess.
Key Points
- The brisket stall is a common occurrence when cooking a brisket using the low-and-slow method
- The stall happens when the meat sweats and cools through evaporative cooling, usually starting at an internal temperature between 160-170°F
- There are various strategies for dealing with the stall, including planning ahead, building momentum before the stall, cooking the brisket overnight, cooking at high temperatures, or starting low and finishing high
- Wrapping the brisket in foil or paper and raising the temperature of the smoker can help build momentum and push through the stall
- Cooking the brisket overnight allows the stall to happen without disrupting your plans
- Cooking at high temperatures may help bypass the stall, but can compromise the tenderness and smokiness of the meat
- Starting low and finishing high involves cooking the brisket at a lower temperature until the internal temperature reaches 150°F, then increasing the temperature to finish the cook faster and avoid the stall
- It is important to monitor the internal temperature of the brisket and make adjustments as needed to ensure a successful cook.
| Strategy | Description | Pros | Cons |
|---|---|---|---|
| Plan ahead | Cook the brisket ahead of time and place in holding to keep hot for several hours | Allows for flexibility in case the stall occurs | Requires advanced planning and may not be suitable for last-minute cooking |
| Build momentum | Wrap the brisket in foil or paper and raise the temperature of the smoker to keep the cook moving forward | Can help push through the stall | May compromise the tenderness and smokiness of the meat |
| Cook overnight | Cook the brisket until late at night and let it stall while you sleep | Avoids the frustration of the stall | May not be practical for everyone |
| Cook at high temperatures | Cook the brisket at a higher temperature to push through the stall faster | May avoid the stall altogether | May compromise the tenderness and smokiness of the meat |
| Start low, finish high | Cook the brisket at a lower temperature until the internal temperature reaches 150°F, then increase the temperature to finish the cook faster and avoid the stall | Allows for tender, juicy meat while still avoiding the stall | Requires careful monitoring of the internal temperature and may not be suitable for all cuts of meat |
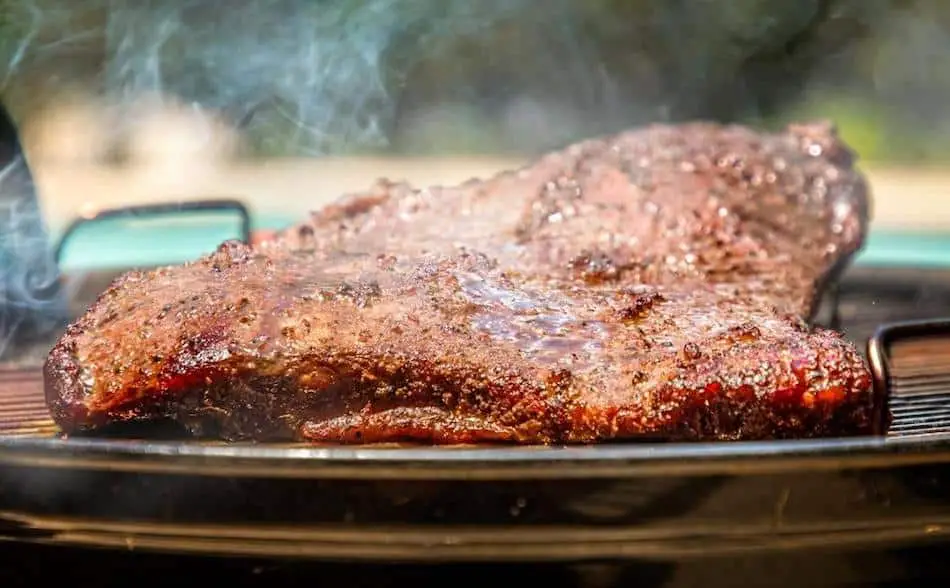
What Is The Stall?
The stall is a reality we need to learn to live with when low-n-slow cooking. In simple terms, the stall occurs when the meat cools through sweating. Evaporative cooling is the scientific word for the stall.
Have you seen the most advanced thermometer on the market? FireBoard can be controlled via your phone, holds meat 6 probes, and records your cook data on a cloud.
Brisket Stall Temp – When Does It Happen?
On average, the stall will begin once the brisket reaches an internal temperature between 160⁰F and 170° F. Other cuts of meat may begin the stall at around 150° F, but usually with brisket it occurs later. Brisket master Aaron Franklin finds the stall takes place somewhere between 160⁰F and 170⁰F.
Plan For The Stall
I usually cook well ahead of time. I place my brisket into holding where it can remain hot for 4 hours or longer. That way, if my brisket wants to stall, it won’t ruin my plans. But no matter how much you plan, the stall can still be extremely frustrating.
How To Understand The Stall – The Train Analogy
The final destination for a brisket is to reach an internal temperature of around about 203° F. Aaron Franklin likens the stall to a train making its way up a hill. The brisket will gradually make its way up the mountain for several hours before reaching a plateau where the train almost comes to a stop. A brisket will normally start strong, hitting 100° F, 125° F, and 150° F with a steady climb. Then, somewhere between 150 and 170° F, the brisket will come to a standstill and the internal temperature will plateau. Sometimes, it even goes backwards a little. Then, the train builds some momentum and powers towards the destination.
Build Momentum Before The Stall
Aaron Franklin encourages people to build momentum to push through the stall. If you build momentum before reaching the steep climb, the easier it will be to push the brisket through. As Franklin describes, imagine a train accelerating before approaching a steep hill. You can accelerate your brisket by wrapping it in foil and raising the temperature of your smoker. Wrapping and raising the temp will keep the momentum moving forward, helping you to push you through the plateau. As the brisket approaches the 150° F range, build some momentum so that you know when it hits the stall, it will not come to a grinding halt.
The Overnight Brisket – Sleep Through The Stall
How long does a brisket stall if nobody’s around to see it? The overnight brisket is probably the best way to avoid the frustration of the stall. If you’re asleep, then it doesn’t matter how long the stall lasts.
The overnight brisket is very common, and you can do the first phase of the cook until about midnight, then comfortably go to bed and know that it may stall throughout the night, but it doesn’t really matter.
Depending on the type of smoker you are using, overnight briskets can be dangerous. You really need to know your smoker. I would feel comfortable leaving an electric smoker overnight. Even well-insulated charcoal smokers like a WSM, a kamado or a drum smoker are relatively safe. However, you’re dealing with fire, so there’s always a risk that things can go sideways.
Pellet grills are safe to leave overnight, but it depends on the quality and model. I’ve had issues with my pellet grill. Twice I’ve had a backburn in the hopper, so I’m not comfortable leaving my pellet grill unattended.
If you are going to attempt an overnight cook, at least use a good thermometer to measure the internal temperature of your smoker and the internal temperature of your meat. With a thermometer alarm at your bedside, you can sleep easy. A reliable thermometer will alarm during the night if the temperature of your smoker spikes, or the meat reaches a done temperature. If you want to know which thermometers are best, check out my thermometer guide.
Barbecue temperature controllers are the best and safest way to cook an overnight brisket is by using a temperature controller because they eliminate all error. A temperature controller will take your charcoal smoker and turn it into a set-and-forget smoker by using a fan blower. For more information, check out my article on the Barbecue Temperature Controllers.
| Brisket Size | Temperature | Cook Time | Including Resting |
| 12 lbs | 225°F | 18 hours | 19 hours |
| 18 lbs | 250°F | 18 hours | 19 hours |
| 12 lbs unwrapped | 225°F | 19 hours | 20 hours |
| 18 lbs unwrapped | 250°F | 19 hours | 20 hours |
| 16 lbs | 275°F | 10 – 12 hours | 11-13 hours |
| 16 lbs unwrapped | 275°F | 11-13 hours | 12-14 hours |
Cook at High Temperatures
By cooking the brisket at a higher temperature, you will push through the stall much faster. If you leave the temperature at the standard 225°F, then the brisket will probably stall for several hours. However, if you cook the brisket at a higher temperature, you may bypass the stall altogether.
Be careful though. Cooking at low temperatures is how we get tender, juicy meat. Low temperatures is also how we can get a smokier brisket, and allow time to break down all that connective tissue. The moment you increase the temperature up to around 300° F range, all these benefits diminish, although you will not experience the stall for as long.
Start Low – Finish High
As the internal temperature of your brisket approaches 150°F, increase the temperature of your smoker. If you are cooking your brisket in the 225°F range, bump up the temperature to 275°F.
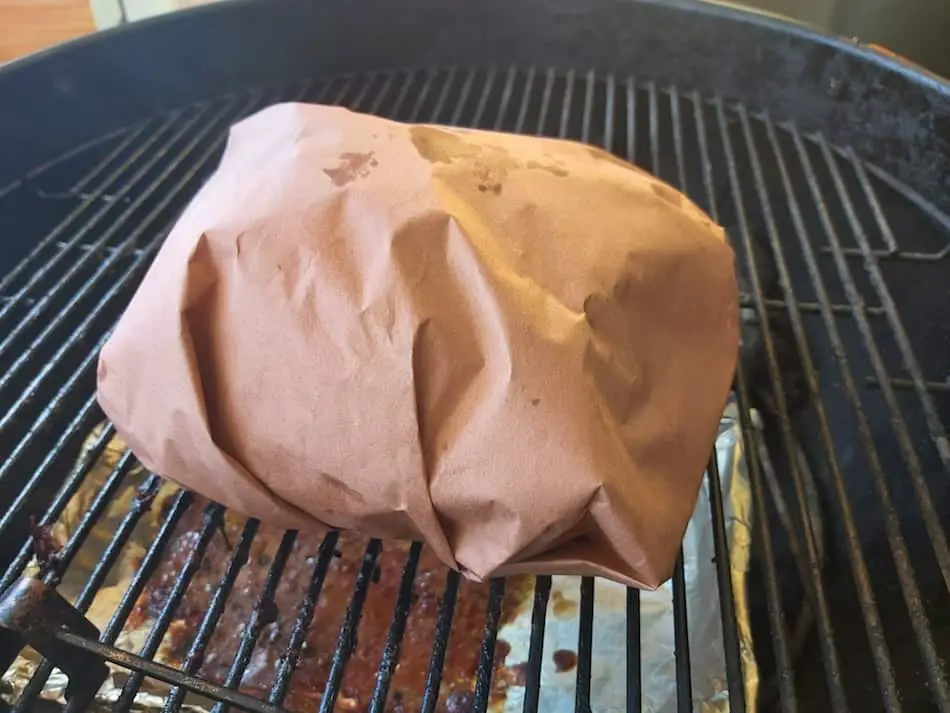
Wrap Your Brisket
One of the major benefits of wrapping is to help the brisket cook faster, and especially, push through the stall. Wrapping your brisket will shave about 1 hour of the total cook time. Aluminium foil or butcher paper will trap steam inside the wrapping, which will not only keep the meat moist, it will also help tenderize the brisket, and cook the meat faster. Before wrapping, spritz the brisket one more time, just to add some extra moisture into the parcel. Make sure there are no holes or leaks, because you don’t want any of that heat to escape from the package.
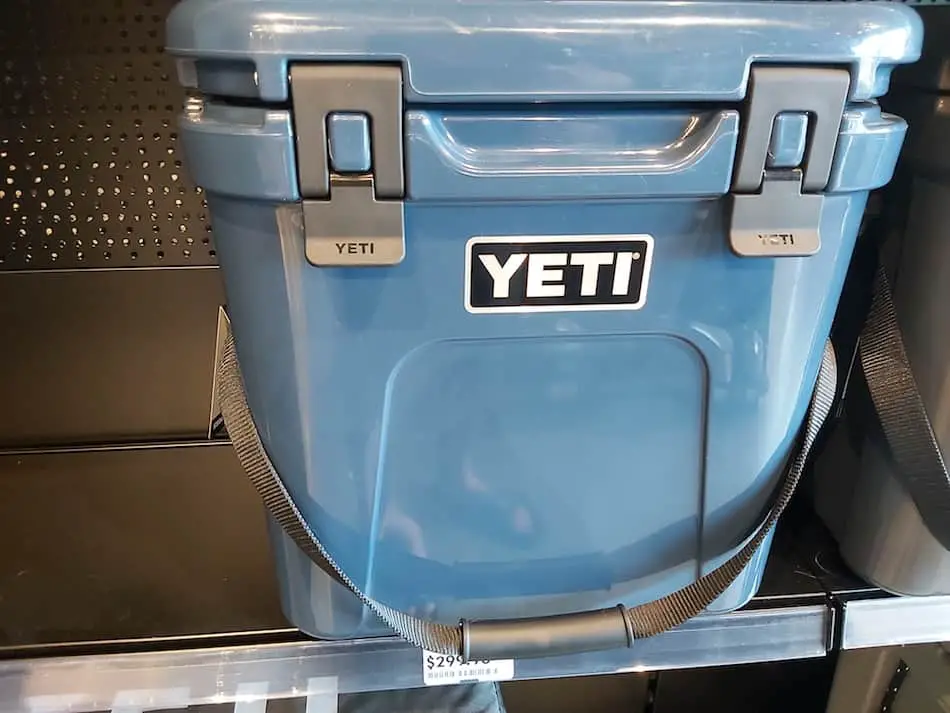
Holding
I find the best way to beat the stall is by cooking ahead of time and placing the brisket into holding. This it’s a common technique used in barbecue, where you place your finished brisket in a dry cooler where it will last between 4-6 hours — even longer. I’ve written a full article on holding meat in a dry cooler. Check it out here: Resting Brisket In A Cooler-Why Do It?
Holding allows you to plan much better. It takes all the stress out of the stall. By cooking much earlier, you can then place the brisket into holding for several hours where it will remain hot if stored correctly. Then once your guests arrive or you’re ready to serve, you can just slice and serve.
Remove The Water Pan
Although water pans have many benefits, the extra humidity will keep the brisket moist, but will absorb some of the heat. This will cause your smoker to run a little cooler and therefore slow down the cook. You can use the water pan for the first phase of the cook, but let the pan run dry after you have wrapped the brisket.
Planning
Planning is one of the best things that you can do to beat the stall. Allow more time to cook, then put the brisket into a dry cooler. The last thing you want to do is have your dinner guess waiting because your brisket is stuck in the stall.
| Brisket Total Cook Time | Start Time | Begin Spritzing | Wrap Brisket | Finish in Oven | Done Time (203°F) | Holding Time In Dry Cooler (1-4 hours) |
| 12 hours | 6pm | 9pm | 12am | 12am | 6am | Between 7am – 10am |
| 15 hours | 5pm | 8pm | 11pm | 11pm | 8am | Between 9am – 12pm |
| 18 hours | 2pm | 5pm | 8pm | 8pm | 8am | Between 9am- 12pm |
Journal
It’s always a good idea to journal your cooks, because this will help you plan future briskets. Take a notepad and write the temperatures, times, weights, climate, smoker, etc. Before you do another cook, you can flick through your notes and plan your cook.
Graphing
A lot of the new thermometers will record this cook data for you, so you can see exactly where the stall began and ended. Thermometers like Fireboard, and the smart thermometers like Meater, Meatstick and Airprobe 2 are App-based thermometers, so they can record and save graphs of your cook. The cook graphs resemble a heart EKG, so the stall is easy to recognize.
Hot and Fast Brisket
The hot-and-fast brisket is a huge trend in barbecue. Many pitmasters can knock out a brisket in a few hours by cooking in the 350⁰F range. I never thought this was possible, but it works, and you can still get good results. The brisket won’t taste as tender and juicy, and it will be less smokey.
The best way to beat the stall is to cook your brisket at a high temperature. A 275⁰F to 300⁰F range would be safe. However, I would wrap the brisket, dry brine and injected. Also buy a well-marbled brisket to give it every chance of survival. Anything hotter than 275⁰F, you’re moving into the “hot-and-fast” range.
How To Avoid Going Backwards
If you’re cooking too low, you may find that the temperature even decreases and goes backwards. This is because the meat is sweating too much to where it’s cool to meat where it’s actually going backwards.
My Favorite Brisket Tools
Thanks for checking out this article. I hope you learned a few things. Here are some of my favorite tools I use when smoking brisket that may be useful to you. These are affiliate links, so if you decide to purchase any of these products, I’ll earn a commission. But in all honesty, these are the tools I recommend to my family and friends who are just starting out.
Meat Injector: Injecting meat is a great way to take your barbecue to the next level and help you make competition-style brisket. An injector is the only way you will be able to get flavor and moisture into the middle of the meat. The Beast Injector is a stainless steel injector that is sturdy and affordable. Check the latest price on Amazon here.
Brisket Marinade: The best injection solution on the market is the Butcher BBQ Brisket Injection. This marinade is used in competitions and is made by World Barbecue Champion pitmaster, Dave Bouska. You can find the marinade on Amazon here.
Butcher Paper: Wrapping brisket in butcher paper has become a huge trend in barbeque thanks to Aaron Franklin. Wrapping your brisket in paper will give you a nice brisket bark. However, you can’t just use any old paper, it has to be unwaxed, food grade paper. You can find it on Amazon here.
Brisket Rub: These days I make my own rub when possible, but I always have a few pre-made rubs for when I’m running low. Barbecue guru Malcom Reed produces Killer Hogs, one of the best brisket rubs I’ve found over the years. Another great rub is Slap Yo Daddy, made by brisket master and multiple World Barbecue Champion, Harry Soo.
Meat Thermometer: There are dozens of fancy thermometers on the market, but I still use my trusty TP20. For around $50, I have a high-quality meat thermometer with two probes, and can track the temperature of my smoker with one probe, and my meat with the other probe. The ThermoPro TP20 is an Amazon Best Seller because it’s the easiest thermometer to operate, is durable, highly accurate, and comes with pre-programmed meat settings.
Instant Read Thermometer: Arguably, the second most important tool you need is a fast and accurate instant-read thermometer. These tools play an important role in the latter stages of the cook when the meat needs regular checking in multiple areas. I use the ThermoPro TP19 because it can do everything a ThermaPen can do, but for a fraction of the cost. You can check out the TP19 on Amazon here.
Advanced Thermometer and Automatic Temperature Controller: Once you’re ready to take things seriously, the FireBoard 2 Drive is a six-channel Bluetooth/Wi-Fi thermometer that can monitor up to 6 pieces of meat, control and graph your cook sessions on your smartphone, and attaches to an an automatic blower that will convert your charcoal smoker to a set-and-forget. This is one of the most advanced meat thermometers on the market. You can check it out on the FireBoard website here.